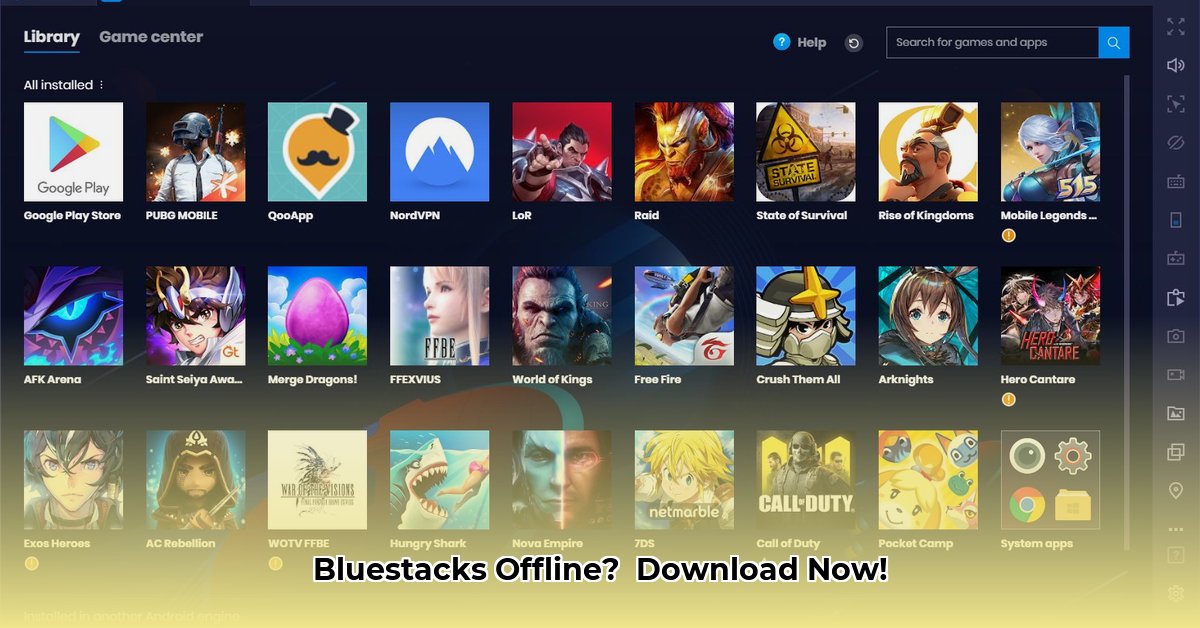
Ready to experience the power of Android apps without relying on a constant internet connection? This guide provides a step-by-step walkthrough for downloading and installing the BlueStacks 5 offline installer, ensuring a smooth and efficient setup process, even in areas with unreliable internet access.
System Requirements: Preparing Your System
Before you begin the download, ensure your computer meets the minimum system requirements. These vary slightly depending on the Android version you choose; 64-bit versions generally demand more resources. Always consult the official BlueStacks website for the most up-to-date specifications.
Minimum Requirements (vary by Android version):
- Operating System: Windows 7 or later (64-bit strongly recommended)
- Processor (CPU): Intel or AMD processor (multi-core processor ideal)
- Memory (RAM): 4GB minimum (8GB or more highly recommended)
- Storage Space: 5GB minimum free hard drive space (10GB recommended)
Higher RAM and a faster processor will significantly improve your BlueStacks experience, particularly when running more demanding applications. Insufficient resources can lead to slow performance or installation failures.
Downloading the Bluestacks Offline Installer
Downloading from the official source is essential to ensure you obtain a safe and legitimate installer.
- Official Website: Navigate to the official BlueStacks website (https://www.bluestacks.com/).
- Locate Offline Installer: Look for a download option explicitly labeled "Offline Installer" or a similar designation. The exact wording might vary slightly.
- Download the Installer: Download the appropriate file – this will likely be a zip archive (
.zip).
Remember: Always download from the official website to avoid potentially malicious software.
Step-by-Step Installation: A Detailed Process
This section details the installation process. The use of command-line arguments allows you to select your preferred Android version.
- Extract the Installer: Once downloaded, use a file compression utility like 7-Zip or WinRAR (both freely available) to extract the contents of the zip archive. Remember the location of the extracted files.
- Open Command Prompt as Administrator: Search for "cmd" in your Windows search bar, right-click on "Command Prompt," and select "Run as administrator." This is crucial for successful installation.
- Navigate to the Installer Directory: In the command prompt, use the
cdcommand to navigate to the directory where you extracted the BlueStacks installer files. For example:cd "C:\Path\To\Your\Installer". Replace"C:\Path\To\Your\Installer"with your actual file path. Run the Installer with Android Version Argument: Use the following command structure:
"<installer_file_name>" <Android_Version_Argument>. Replace<installer_file_name>with the actual name of the installer executable (usually a.exefile). The<Android_Version_Argument>specifies your desired Android version. Here are the arguments for different versions:- Nougat 64-bit:
--nougat64 - Pie 64-bit:
--pie64 - Android 11 64-bit:
--android11 - Android 13 64-bit:
--android13
For instance, to install Pie 64-bit, you might type:
"BlueStacksInstaller.exe" --pie64and press Enter.- Nougat 64-bit:
Follow the On-Screen Prompts: The installer will guide you through the remaining steps. Follow the on-screen instructions carefully.
Troubleshooting: Addressing Common Issues
Despite following the instructions correctly, problems can still arise. Here are some common issues and their solutions:
- Installer Doesn't Run: Verify you ran Command Prompt as administrator. Insufficient permissions are a frequent cause of installation failures.
- Error Messages: Carefully examine the error message. It often provides clues to the problem. Search online for the specific error message; many solutions are available through user forums and support websites.
- Installation Hangs: This might indicate insufficient system resources (RAM or storage). Close unnecessary programs and try again. If the problem persists, your system may not meet the minimum requirements.
Choosing Your Android Version: A Performance Comparison
The Android version you choose impacts performance and feature availability. Newer versions offer more features but typically demand higher system resources.
| Android Version | Features | Performance | System Requirements |
|---|---|---|---|
| Nougat | Older, but stable | Generally good on lower-end systems | Lower |
| Pie | Good balance of features and stability | Solid performance | Moderate |
| Android 11 | Updated features and improvements | Improved performance over Nougat and Pie | Higher |
| Android 13 | Latest features and performance enhancements | Best performance (requires compatible hardware) | Highest; may require significant system upgrades |
Selecting the appropriate Android version aligns with your system's capabilities and your application needs.
Key Takeaways: Success in Three Points
- Offline Installation: BlueStacks' offline installer ensures faster and more reliable downloads, especially beneficial in areas with unreliable internet connections.
- Android Version Selection: Users can select specific Android versions (Nougat, Pie, Android 11, Android 13) during installation for customized performance and feature sets.
- Troubleshooting Resources: Numerous online resources and BlueStacks' support documentation provide assistance in resolving any installation issues.
By carefully following these steps and utilizing the provided troubleshooting information, you can confidently install BlueStacks offline and enjoy a seamless Android experience.
⭐⭐⭐⭐☆ (4.8)
Download via Link 1
Download via Link 2
Last updated: Monday, April 28, 2025